
So it’s time to finally part ways with your Nintendo Switch. Whether you’re selling it here on Swappa, handing it down to the next generation, or sending it in for repairs, you’ll probably want to transfer all your data first. Unless, of course, you don’t mind losing out on the 80+ hours you’ve invested into Zelda: BoW. Yeah, we didn’t think so.
Unfortunately, Nintendo doesn’t yet offer a way to backup your user information and game saves either to the cloud or onto a microSD card. This will change in the future when their new Nintendo Online service goes live in September, but currently the only way to keep the hours of blood, sweat, and tears you’ve poured into your Switch — which includes your saved game data and Nintendo eShop purchases — is by transferring them to another Switch system. It’s not exactly convenient but it’s your only option at the moment.
Don’t have a new Nintendo Switch to transfer to? Well, you’re kind of out of luck. Feel free to bookmark this page and come back at a later time. For everyone else, if you’ve got a spare Nintendo Switch handy, then read on…
Transferring your Nintendo Switch account and game saves
Since you’ll need to two Switch consoles to make this happen, we’ll refer to the original console as the “source console,” while the new one will be referred to as the “target console.” Got it? Let’s continue…
On the original (source) Nintendo Switch
- Navigate to the Home menu
- From there, tap on the System Settings (gear) icon.
- Select the Users tab on the left.
- From here, tap on the following: Transfer Your User and Save Data > Next > Next (again) > Source Console (This means all the data will be transferred from this console).
- Tap Continue then finish the transfer process on the new, target console.
On the new (target) Nintendo Switch
- Navigate to the Home menu
- From there, tap on the System Settings (gear) icon.
- Select the Users tab on the left.
- From here, tap on the following: Transfer Your User and Save Data > Next > Next (again) > Target Console (This means all the data will be transferred to this console).
- Select Sign in using either your sign-in ID or the email address associated with your Nintendo Account.
- After entering your password, tap Sign in > Next
On the original (source) console…
- Wait for the new target console to be found.
- Once it’s been found, select Transfer to begin moving your data over to the new (target) console.
- Wait for the entire transfer process to complete (this may take a few minutes).
- Once finished, tap End to complete the transfer process.
- Celebrate
Things worth mentioning:
- Both Switch consoles will need to be running software version 4.0.0 or higher, be connected to the internet, and within close proximity to one another.
- You can’t transfer your data to a Nintendo Switch that already has more than 7 user accounts.
- You can only transfer a user account that is connected to a Nintendo ID.
- There needs to be enough storage space on the target console’s internal memory for the new data.
- Once transferred, the user data/game saves will no longer be accessible on the original console.
- Game data (saves) can’t be transferred to a different user.
- Screenshots and videos cannot be transferred from one Switch to another.
That’s it!
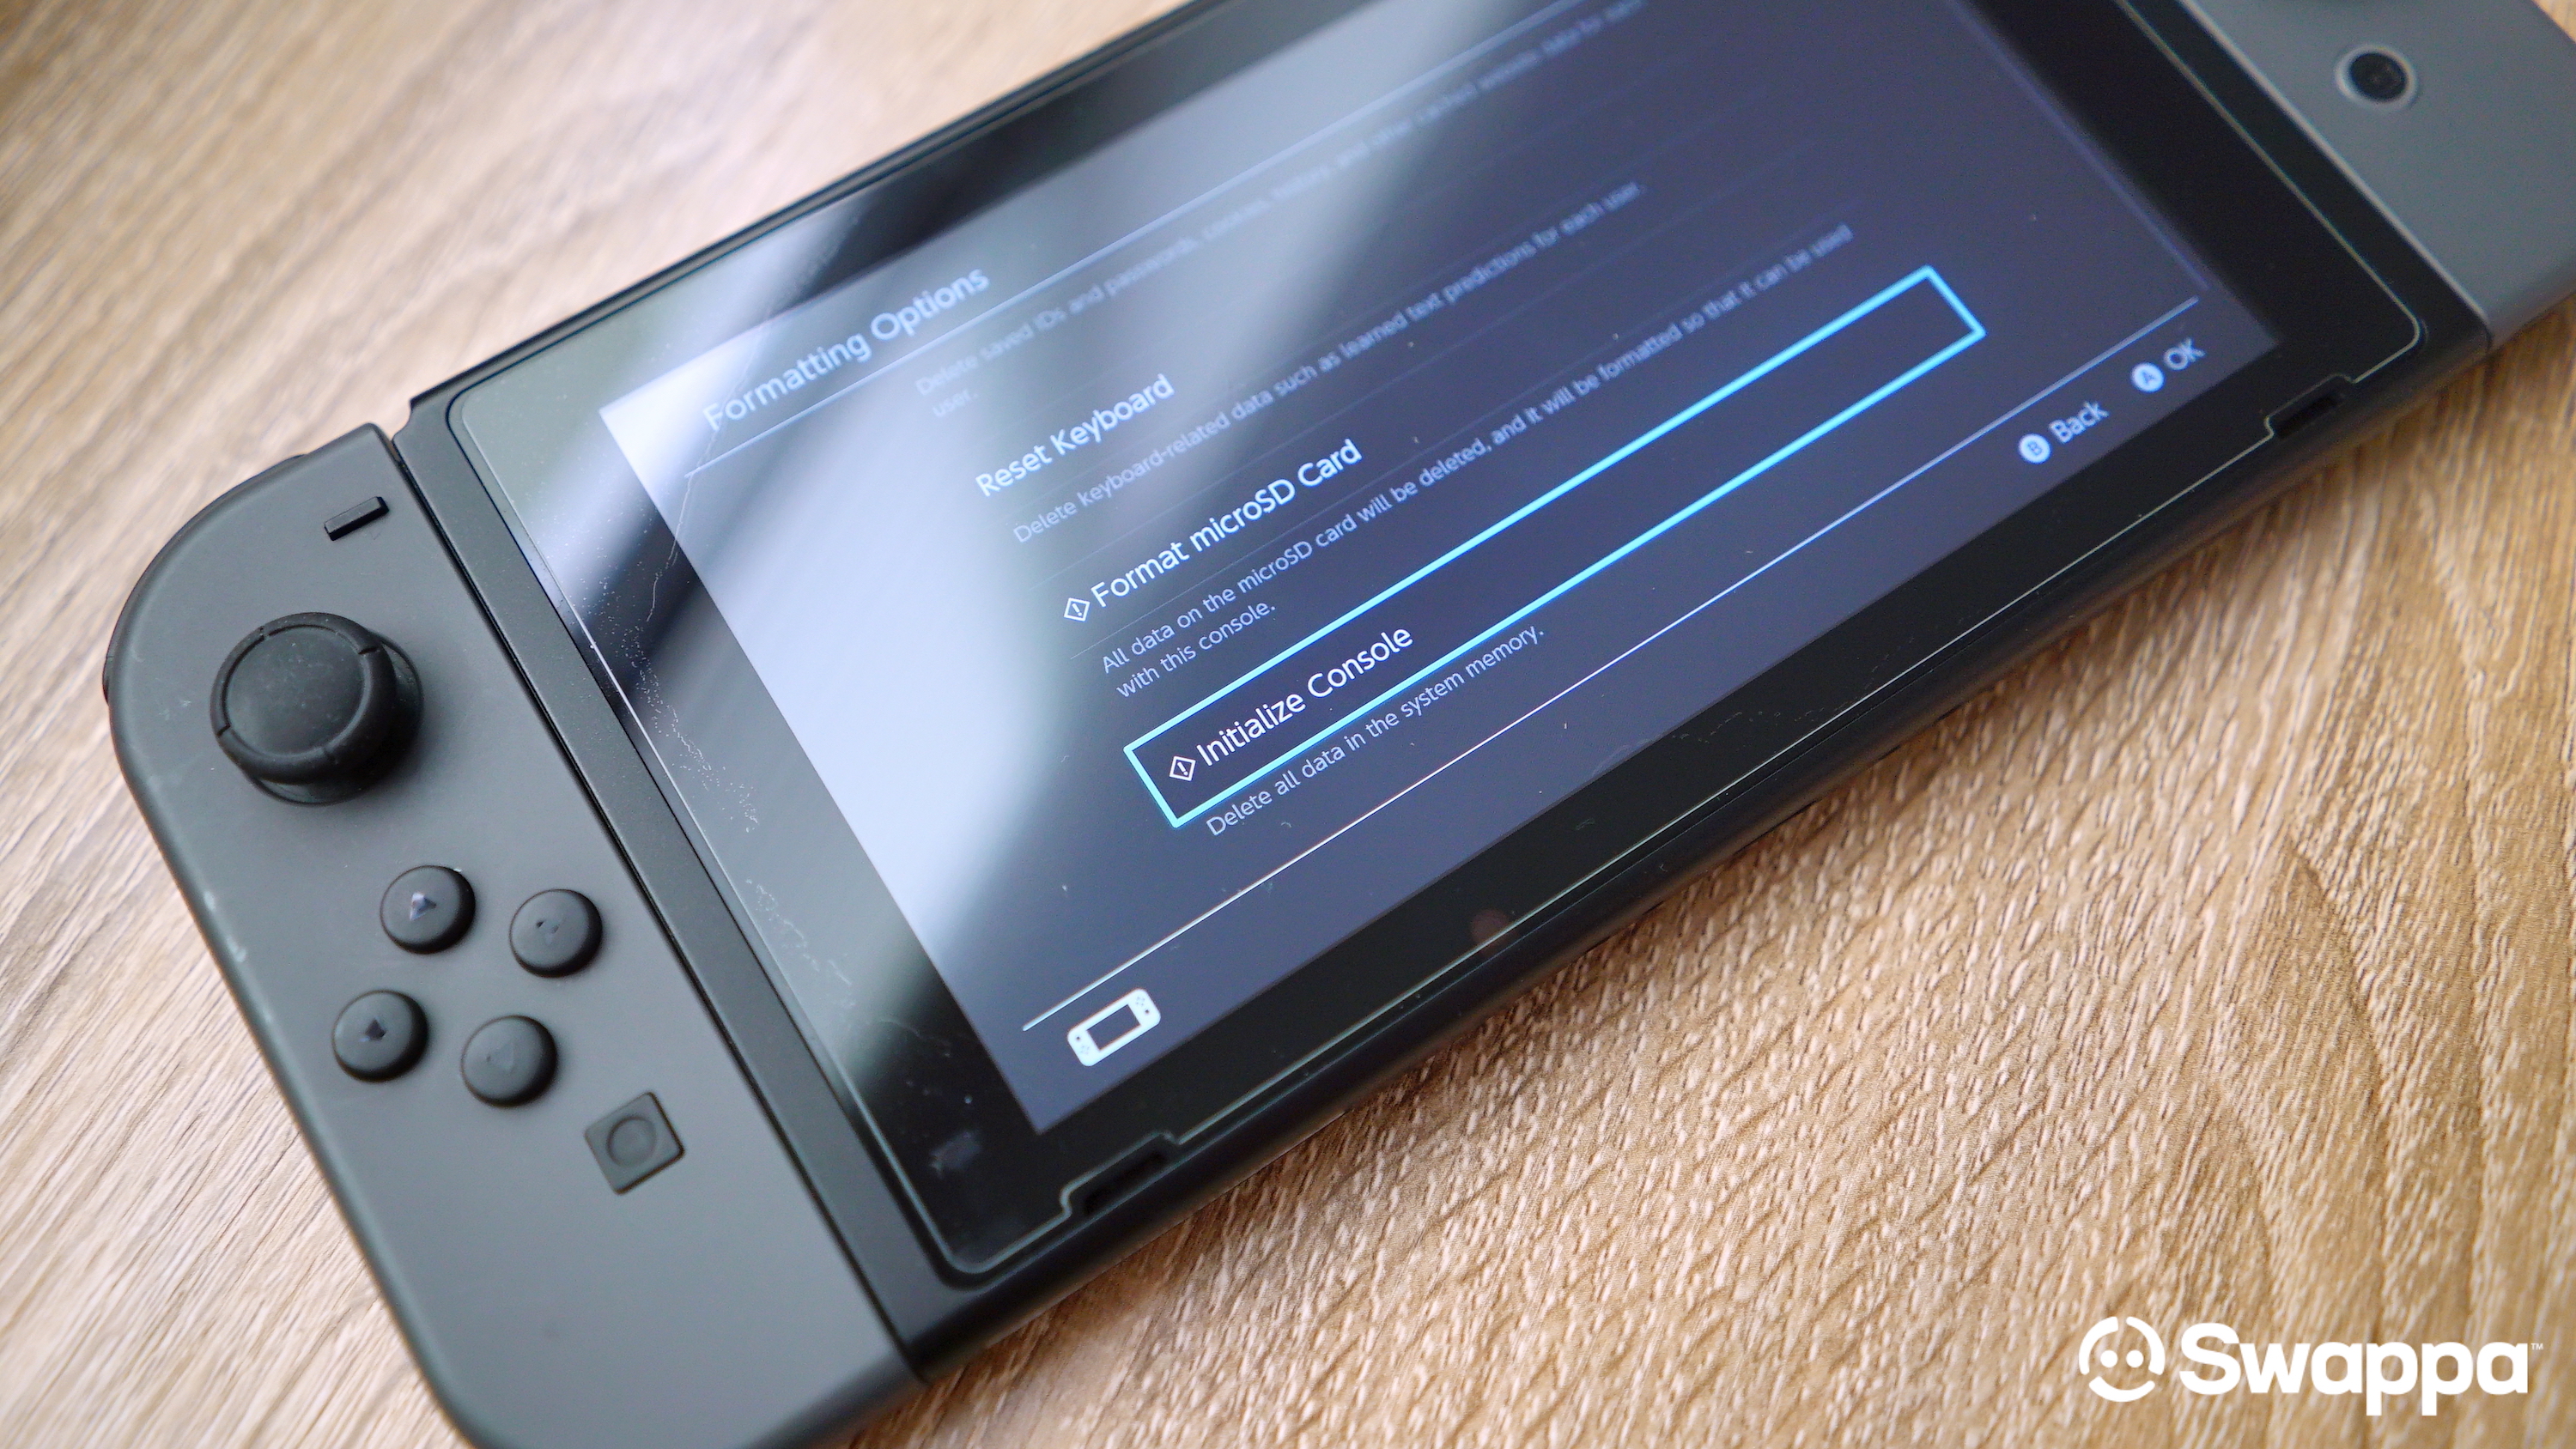
Now that you’ve successfully transferred all your game data over to a new Switch, your old one can now be factory reset. For a full walkthrough and tutorial on initializing your Nintendo Switch to get it ready for its new owner (or send it in for repairs), check out our post linked below.
")

